

How to Adjust a Floating Bridge on an Archtop
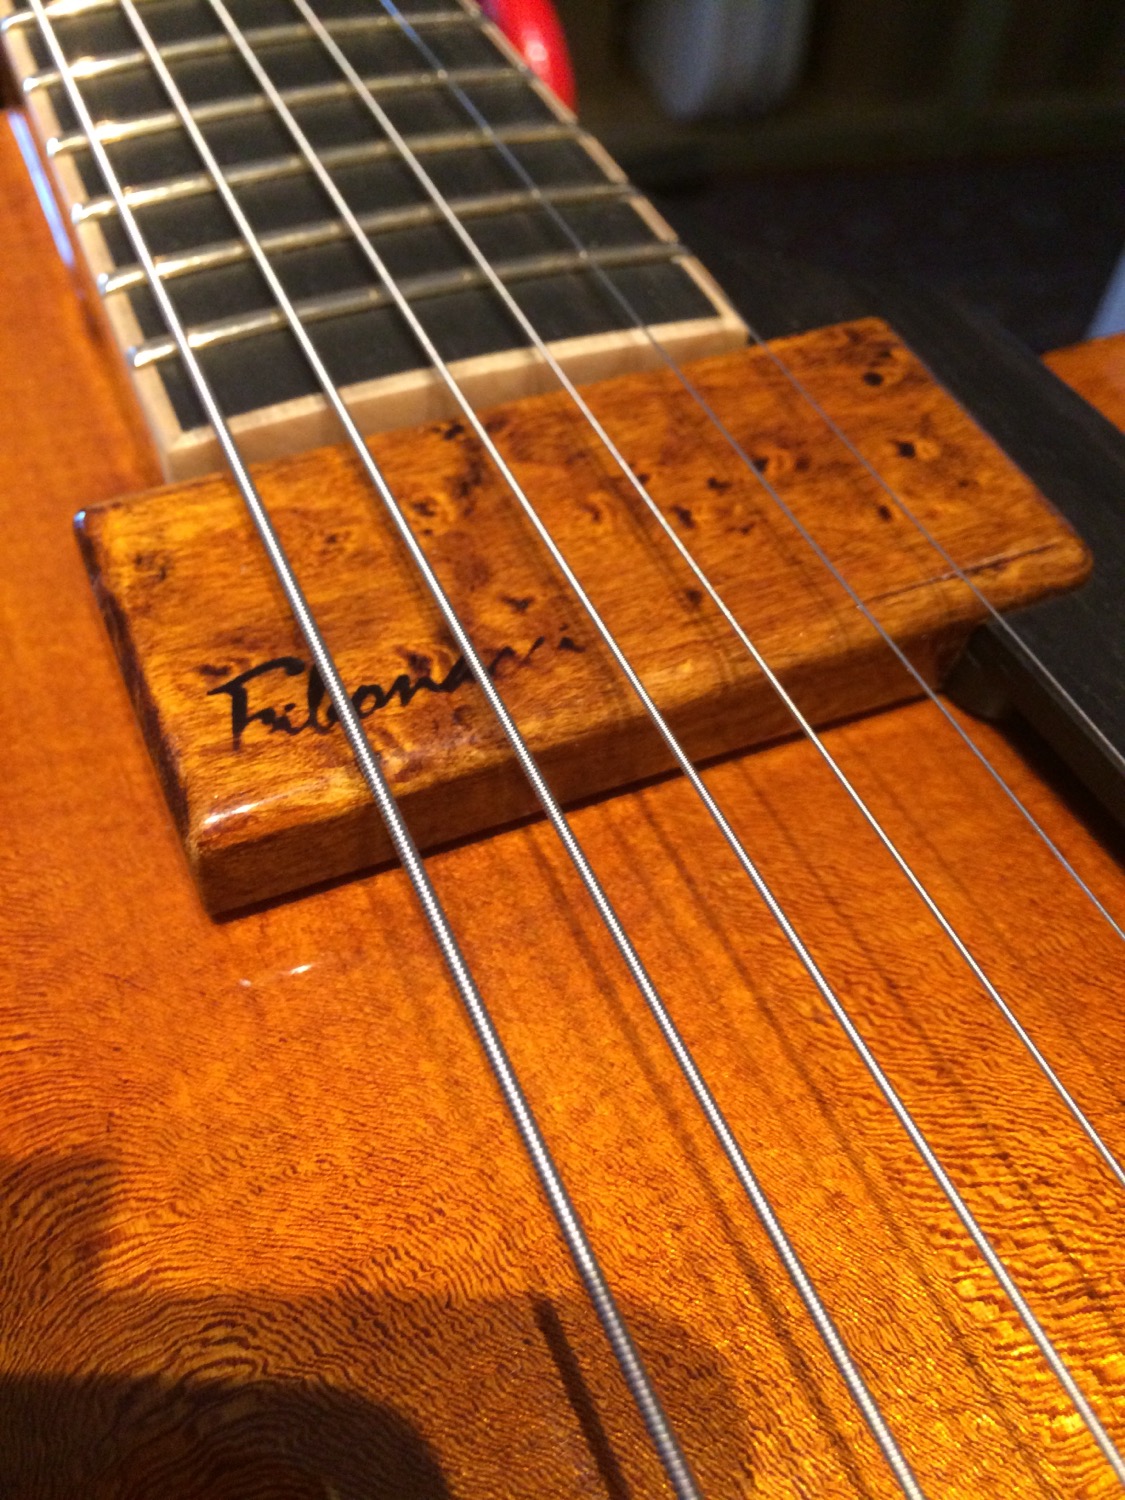

A floating bridge is one of the defining details of a fine archtop. It transfers string energy directly into the carved soundboard while allowing the instrument to be set up for the player, rather than fixed permanently at the factory. Knowing how to adjust a floating bridge is therefore useful, but it should be approached with the same care given to every hand-fitted component on a premium instrument.
Unlike a bridge secured with screws or posts, an archtop bridge base is held in place by string tension. Its feet are shaped to meet the contour of the arched top, and its exact position determines intonation. A small movement can make the difference between a guitar that rings accurately across the fingerboard and one that sounds unsettled above the fifth fret.
Before You Adjust a Floating Bridge

Establish what needs correcting before turning a thumbwheel or moving the bridge. If the guitar feels difficult to play, the cause may be excessive neck relief, unsuitable string gauge, a worn nut slot, or a change in humidity rather than bridge height alone. On a carved archtop, seasonal movement is normal. Wood responds to its environment, and a carefully built instrument deserves a setup that responds thoughtfully in return.
Check the neck relief first. Fret the lowest string at the first fret and at the point where the neck joins the body, then observe the clearance around the seventh or eighth fret. Relief should be slight, not dramatic. If relief is excessive, lowering the bridge may disguise the issue while creating fret buzz elsewhere.
Also inspect the bridge base. Both feet should sit cleanly against the top with no obvious rocking or visible gap. Do not assume a poorly fitting base will correct itself under tension. A bridge base that does not make full contact can compromise tone, reduce stability and mark the finish as it shifts.
Protect the Finish and Record the Starting Point
Before altering the bridge, photograph its position from above and from the side. Measure the action at the 12th fret on both outer strings, and make a note of the result. This gives you a reliable reference if you prefer the original setup or need to reverse a change.
Only low-tack adhesive tape should be placed very gently directly on a nitrocellulose finish but should not be left in place, particularly on a valuable instrument or in warm conditions. Alternatively, use a soft pencil to make very light witness marks on the bridge base itself, or take clear reference photographs that show the bridge relative to the f-holes and fingerboard. Never score, scratch or press a mark into the soundboard.
Loosen the strings enough to reduce pressure on the bridge before moving it. There is no advantage in dragging a loaded bridge across the top. Doing so risks disturbing the base-to-top fit and can leave marks in the lacquer. The bridge should be lifted or eased into its new position with controlled, minimal movement.
Setting Floating Bridge Position for Intonation

Bridge position is set by scale length and then refined by ear and tuner. As a starting point, measure from the nut to the centre of the 12th fret and double that distance. This gives the nominal scale length. The treble-side saddle contact point will generally sit close to that measurement, while the bass side normally requires a little additional length for compensation.
This is only a starting point. String gauge, action height, playing pressure and the bridge design all influence the final setting. A wooden archtop bridge may have a compensated saddle profile already built into it, while a bridge fitted with individually adjustable saddles permits more precise correction string by string.
Tune the guitar accurately, then compare the 12th-fret harmonic with the fretted 12th-fret note. Use a light but normal fretting pressure. If the fretted note is sharp, the string length is too short and the bridge needs to move slightly away from the nut. If the fretted note is flat, move the bridge slightly towards the nut.
Make adjustments in very small increments. One millimetre can be significant. Retune fully after each movement and check more than one string. The goal is not merely a perfect reading on one note from an electronic tuner. A fine archtop should sound convincing in real musical positions: first-position chords, melodic lines around the seventh fret and voicings higher on the neck.
Keep the Bridge Base Square

When moving a traditional archtop bridge, keep the base broadly square to the centre line of the guitar. It is normal for the bass side to sit fractionally farther from the nut than the treble side, but an exaggerated angle is usually a sign that compensation is being asked to solve another problem.
If a plain saddle cannot intonate satisfactorily across the set, assess the strings and setup before modifying the bridge. Old strings, a high nut, uneven action or an unsuitable gauge can all produce misleading results. Filing or reshaping a bridge saddle is irreversible work and should be left to an experienced archtop luthier.
Adjusting the Height of a Floating Bridge

Most floating archtop bridges use thumbwheels beneath the saddle section to raise or lower the action. Turning both wheels by the same amount preserves the existing radius and is the right place to begin. Raising the bridge increases action; lowering it reduces action.
Work in modest, even adjustments. A quarter-turn on each wheel is enough to assess the direction of travel. Retune, play every fret on each string, then listen for buzzing, choking notes and loss of clarity. Excessively low action may feel impressive for a few minutes, but a carved-top archtop needs enough clearance to speak freely under the player’s actual attack.
There is no universal action measurement for a serious instrument. A light-touch jazz player may favour a lower setting, while a player who uses heavier plectrum work, expressive vibrato or amplified performance volume may need more clearance. As a reference, Fibonacci Guitars are shipped from the workshop with a string height of 1.8mm on the treble side to 2.0 mm on the bass side at the 12th fret. These measurements are useful to know if a player is refining from there, but response matters more than a number alone.
If you alter one wheel more than the other, do so deliberately and sparingly. A slight bass-side increase may suit a player who needs stronger low-string clearance. Large differences can leave the strings poorly matched to the fingerboard radius and may reduce the bridge’s stability.
Check the Instrument Under Real Playing Conditions

Once intonation and action appear correct, inspect the bridge from the side and front. The base should remain fully seated, the saddle should not lean excessively, and the thumbwheels should turn cleanly without binding. Check that the strings sit securely in their grooves and run evenly towards the tailpiece.
For an electric archtop, confirm pickup clearance after lowering the bridge. The relationship between strings and pickup affects output, dynamic balance and magnetic pull. If the guitar has a floating pickup arrangement, be especially careful not to mistake a pickup-height issue for a bridge problem.
Play the guitar at the volume and with the attack you genuinely use. An adjustment that appears perfect unplugged may reveal rattle, wolf-like resonance or feedback sensitivity when amplified. This is where a well made archtop shows its value: subtle setup changes can be heard clearly, because the instrument is responsive enough to reveal them.
When to Leave the Work to a Specialist

Do not sand the feet of a bridge base unless you are qualified to fit it correctly. The mating surface must follow the top’s arch precisely, and removing material without a proper fitting process can permanently reduce contact. Similarly, seek professional help if the bridge continually drifts, the top has changed visibly, the thumbwheels are damaged, or accurate intonation cannot be achieved without an extreme bridge angle.
A quality archtop is not a mass-produced object to be forced into a generic setup. Its bridge, soundboard, neck angle and string choice operate as a system. An experienced luthier will assess that system before making a permanent alteration, preserving both the instrument’s musical character and its long-term value.
A floating bridge rewards patience. Make one considered change at a time, listen closely, and allow the guitar to tell you where it performs at its finest.


Comments